




Teldorma Ivern
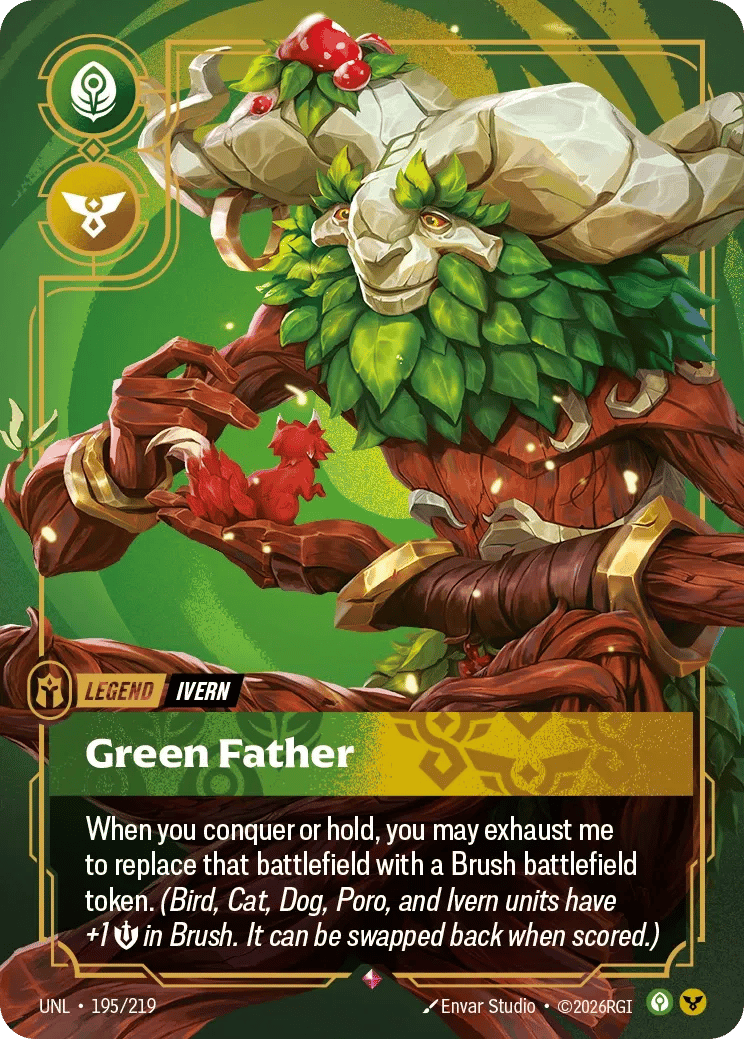
Ivern, Green Father · Ivern, Nurturer
Sep 29


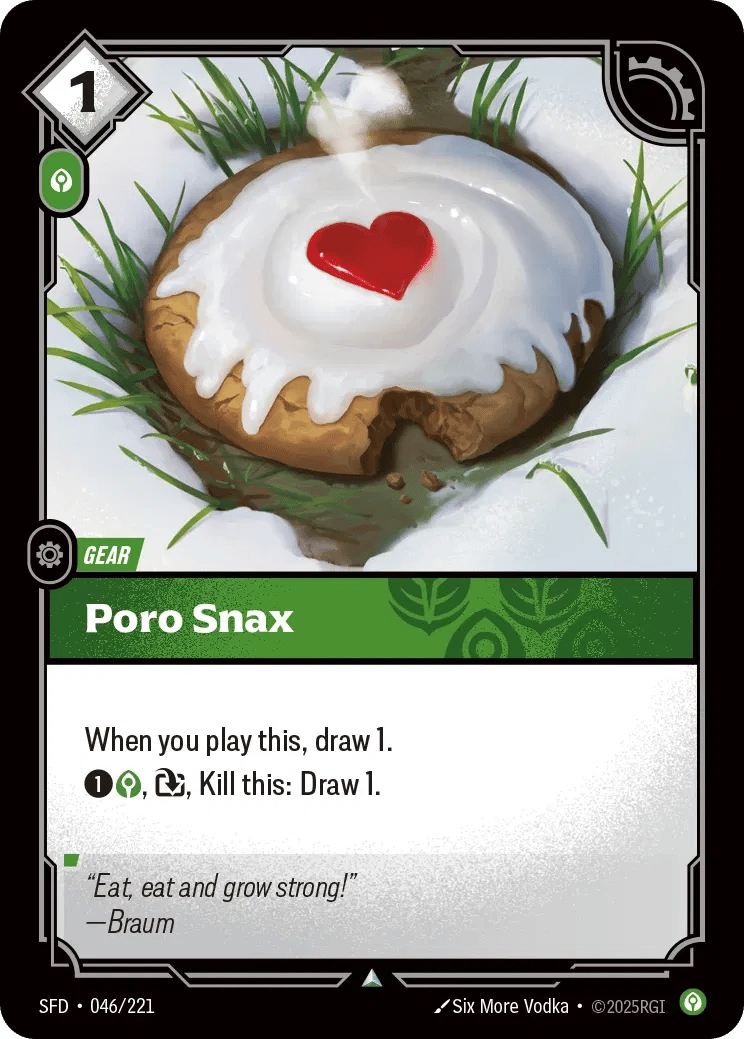
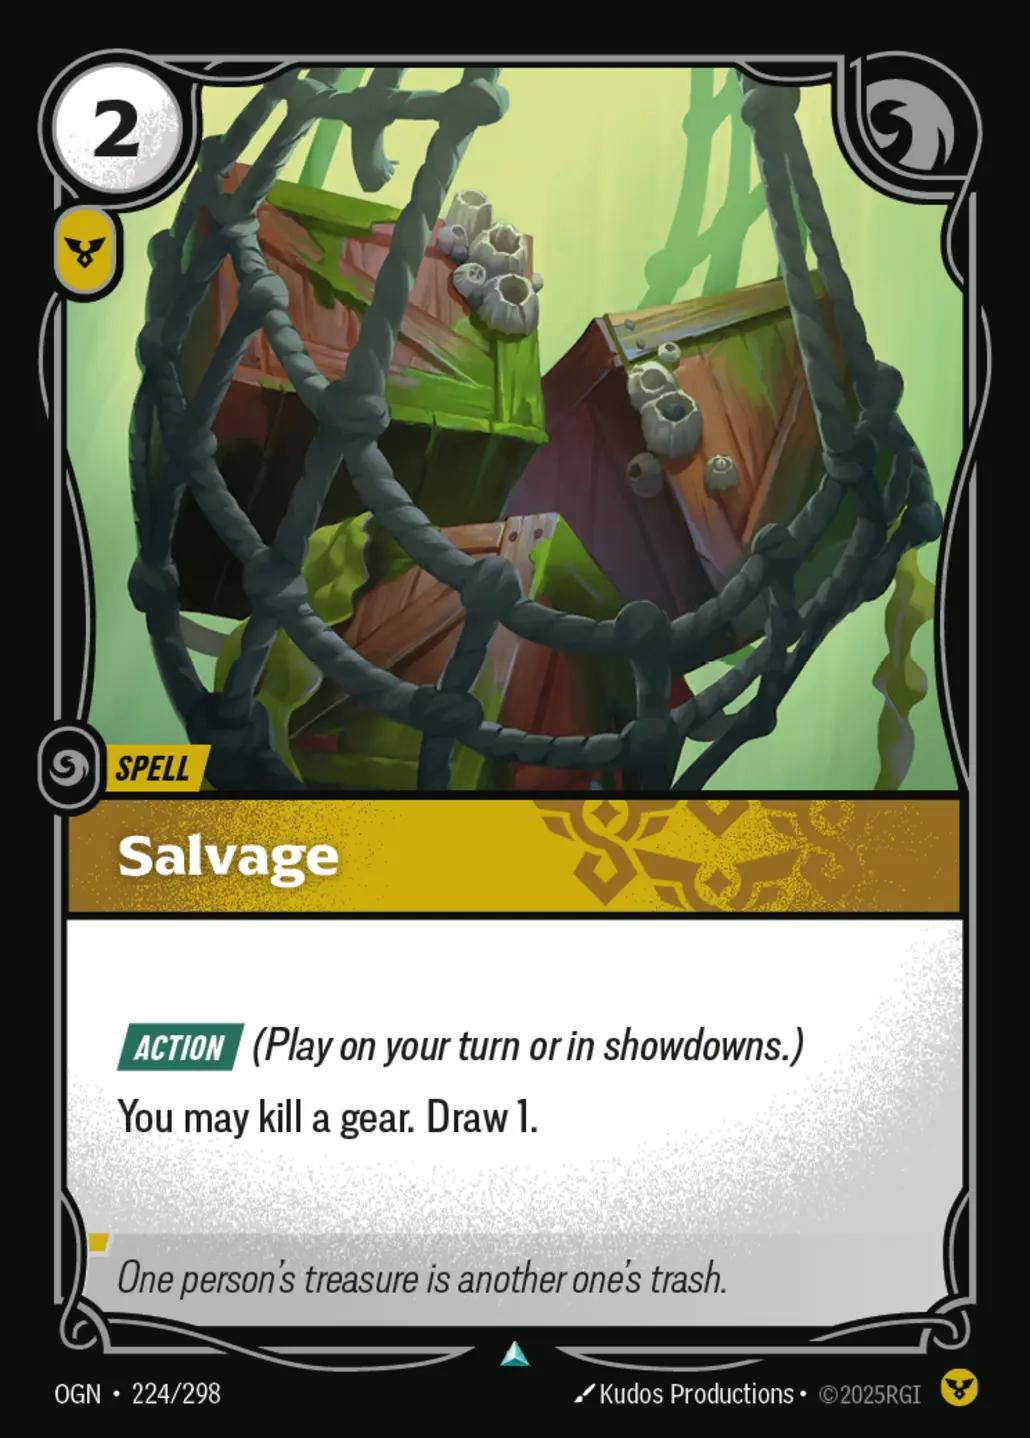
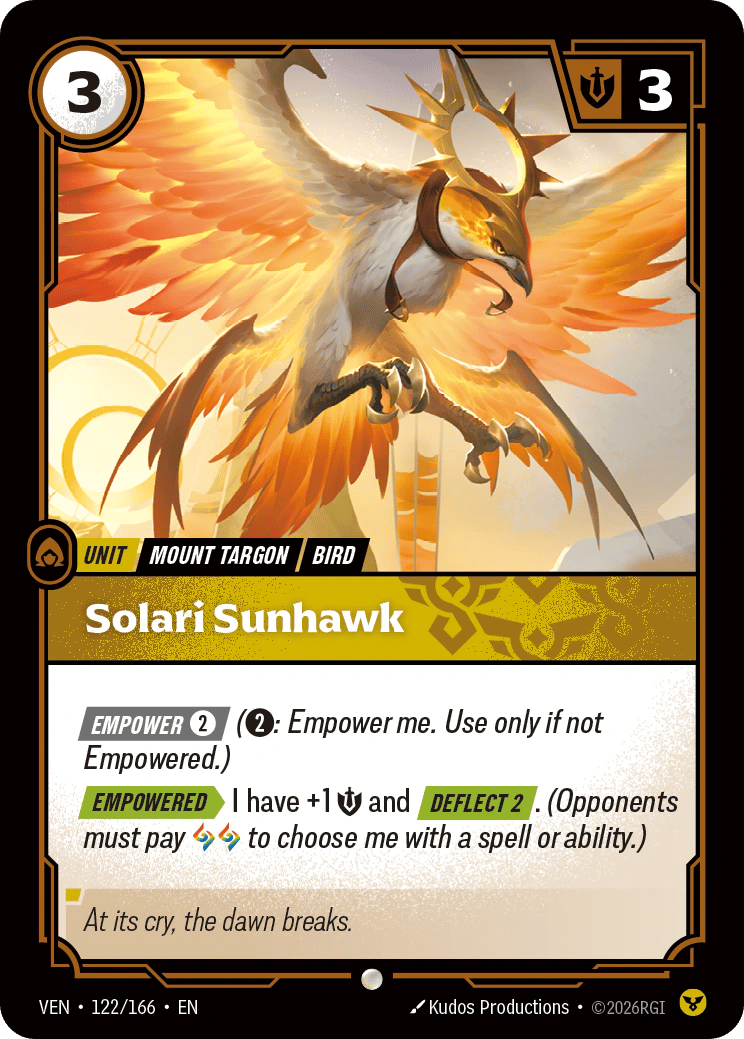
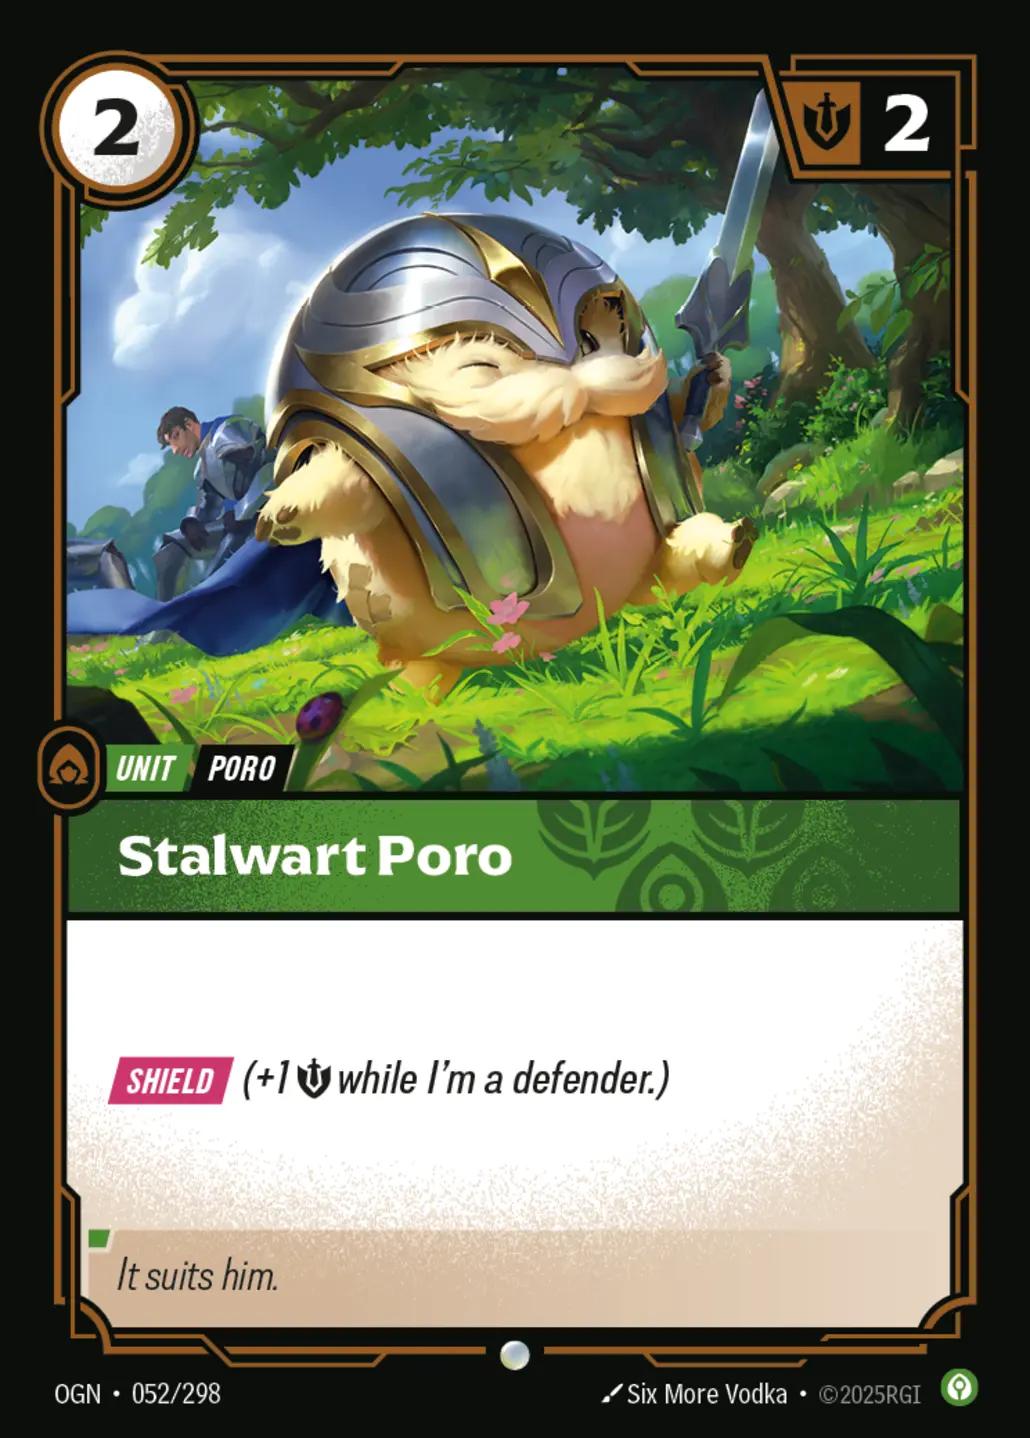

TL;DR
Develop cheap animals → establish a battlefield → hold up interaction → force inefficient trades → keep reserves at base → spread the opponent thin → use Ivern/Heron/Daisy/Azir to outvalue them.
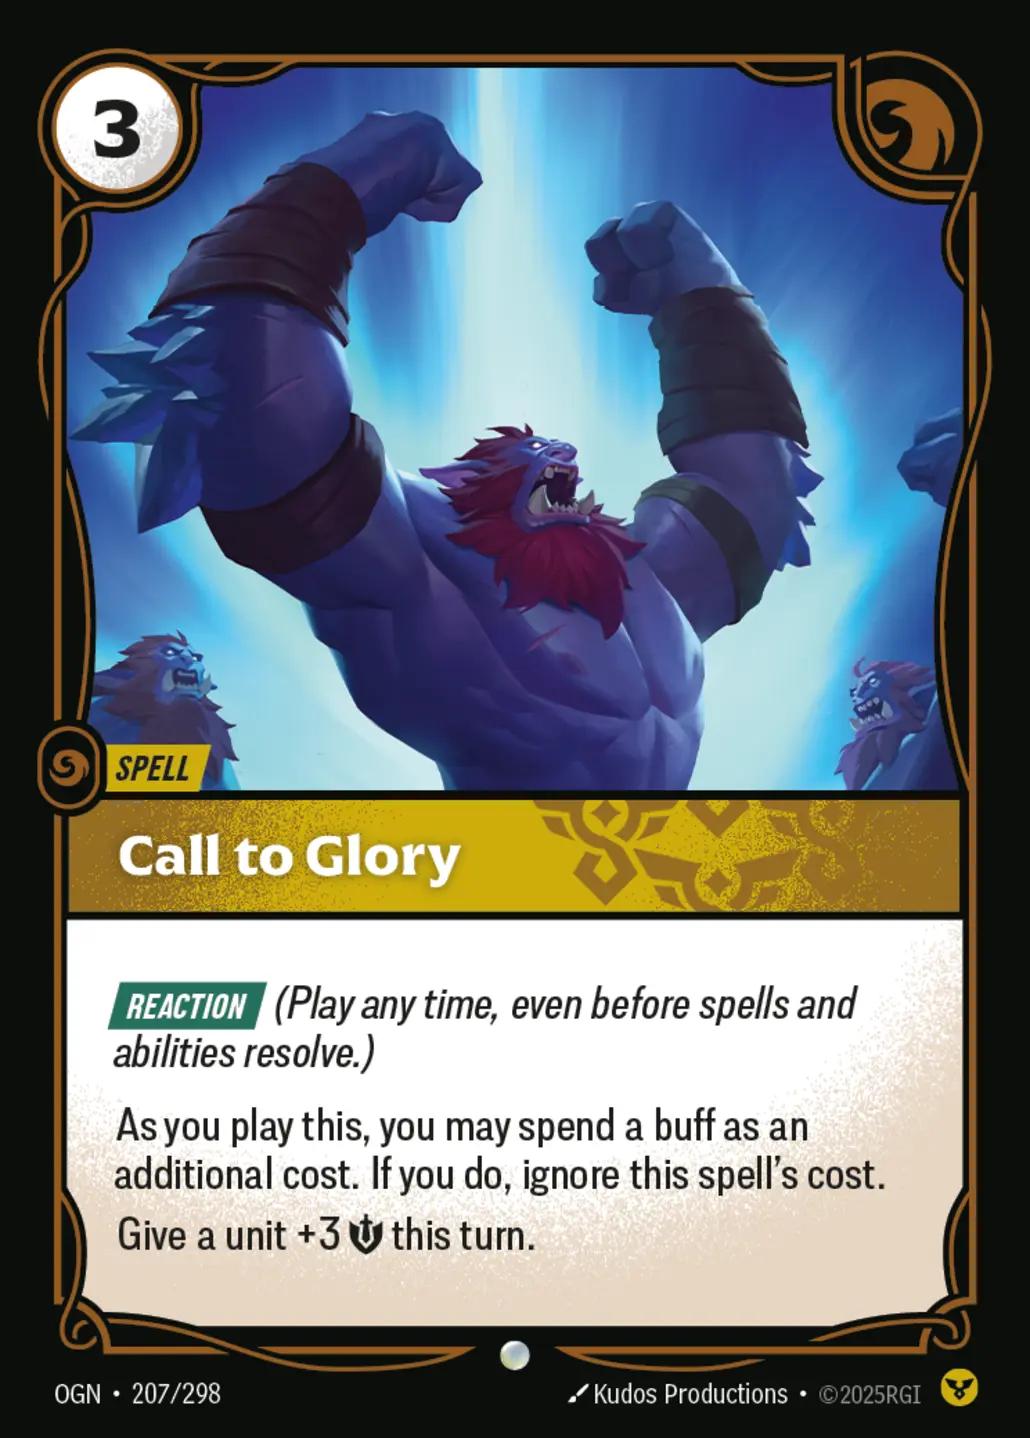
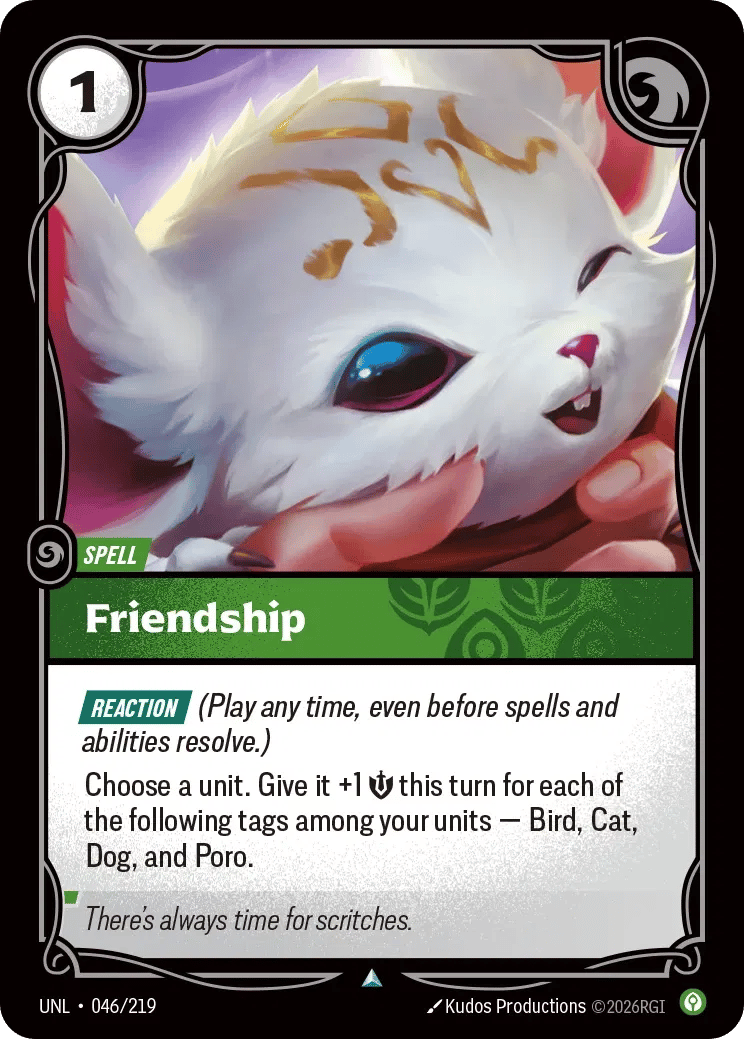
The deck is at its strongest when the opponent never gets a clean decision: attacking you risks Defy, Friendship, Hidden Blade or Emperor's Divide, but leaving you alone gives Ivern time to generate more value.
You're not trying to build the biggest battlefield.
You're trying to make every battlefield awkward to fight over.
This is a Tempo/Swarm Ivern deck built around getting onto battlefields early, making efficient trades and then using Ivern's value to keep your board ahead.
The biggest mistake with the deck is assuming that because Ivern rewards you for having multiple units in play, you should continually pile everything onto one battlefield. You usually want enough units there to make attacking you awkward, while developing additional units at base so you can reinforce another battlefield or rebuild after a board clear.
Your goal isn't necessarily to kill everything your opponent plays. Make them spend more resources taking battlefields from you than you spent establishing them.
Early Game
Your cheap units are the backbone of the deck.
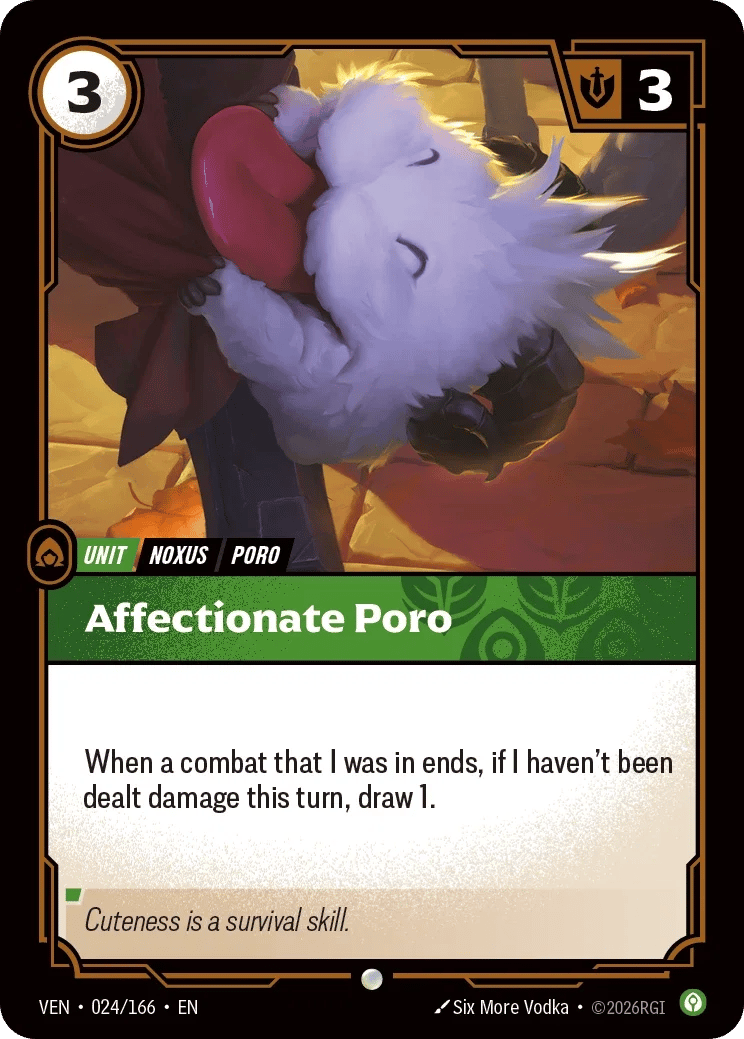
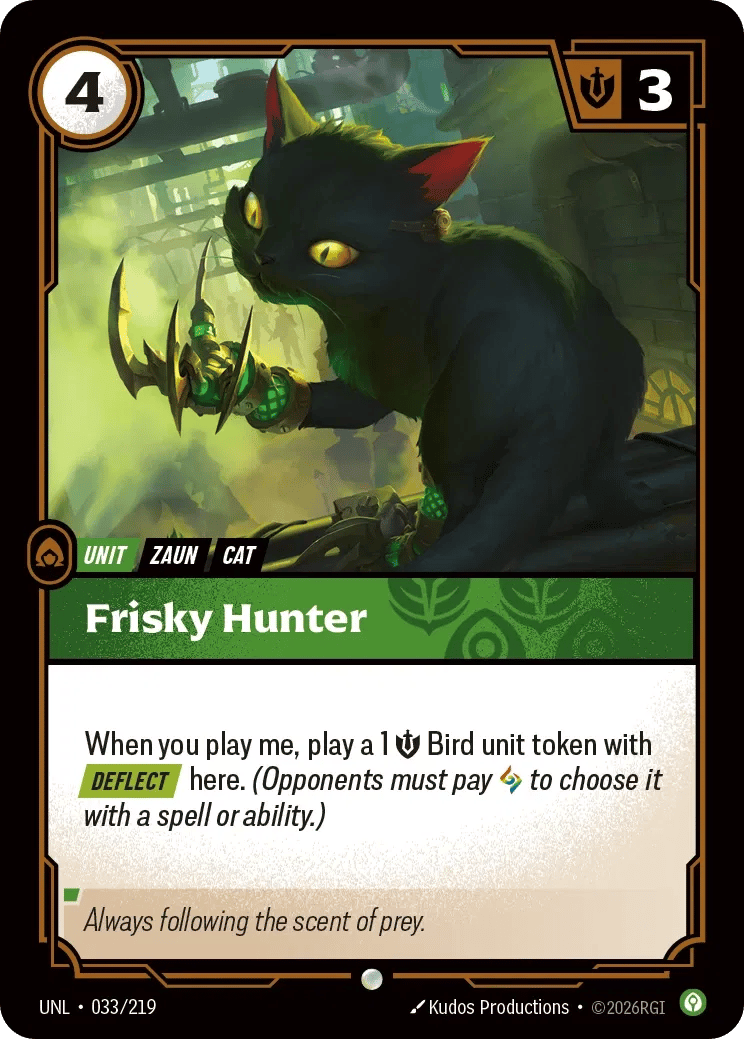
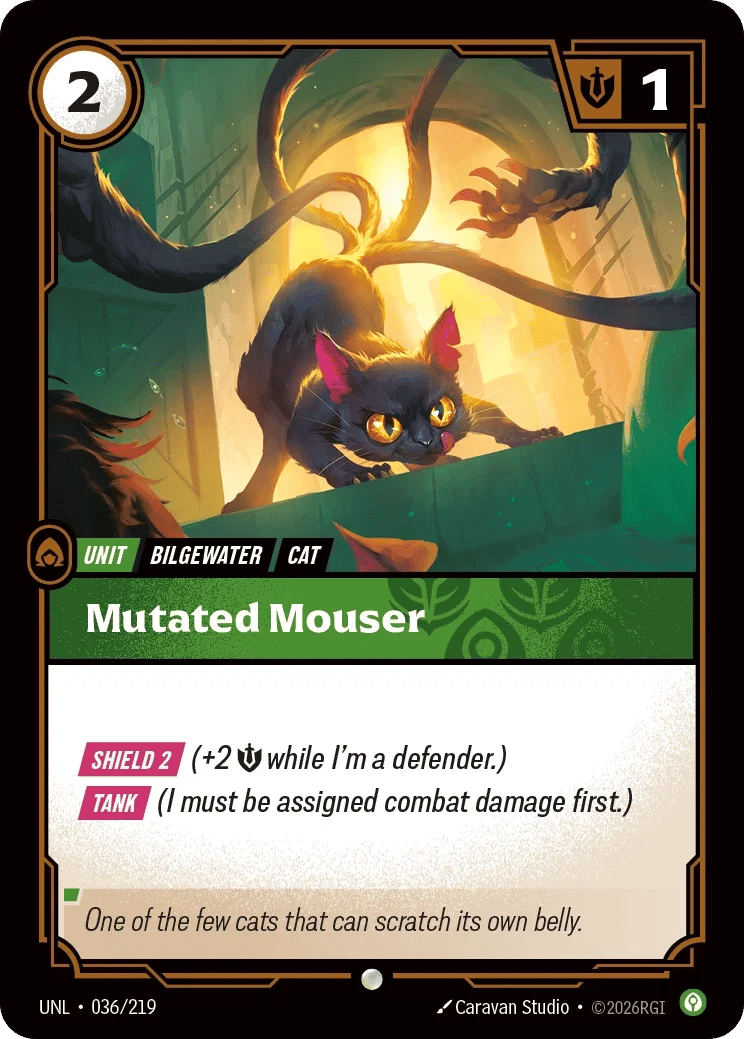
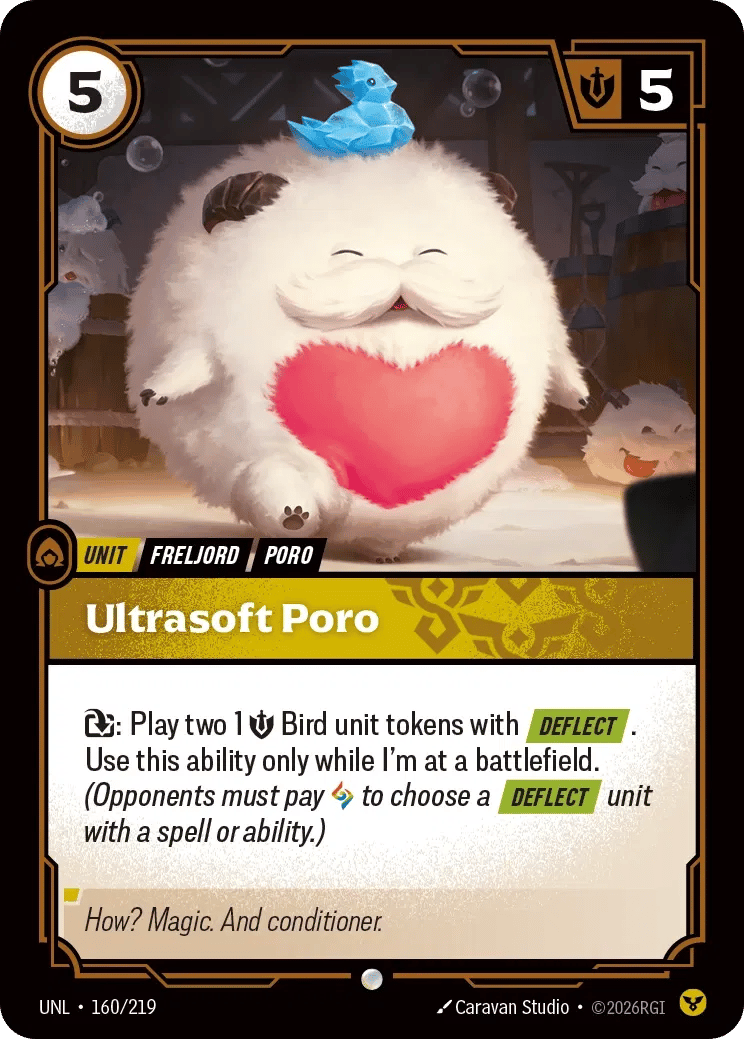
Stalwart Poro, Mutated Mouser and steel paws let you establish the board quickly without committing your expensive cards.
A good opening normally wants:
A way of continuing to develop over the next couple of turns
Ultrasoft poro is particularly useful for turning your smaller units into much more annoying bodies to fight through.
Don't worry about immediately filling every battlefield. Establish one position, see how your opponent responds, and keep enough resources available to punish them.
Playing Ivern
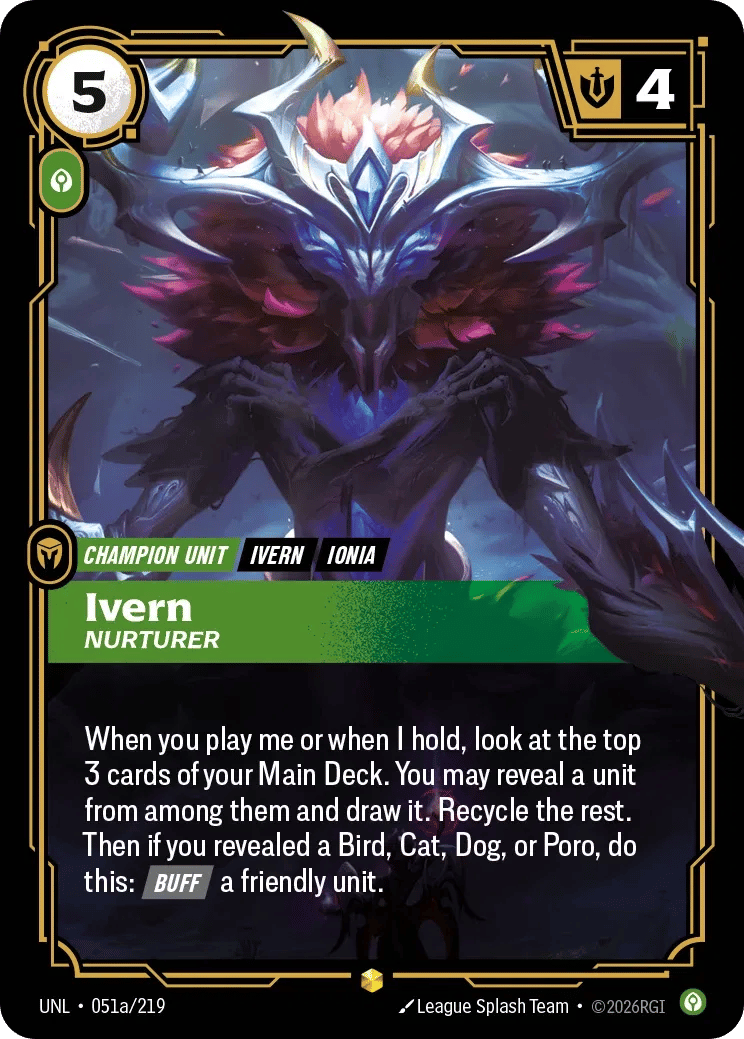
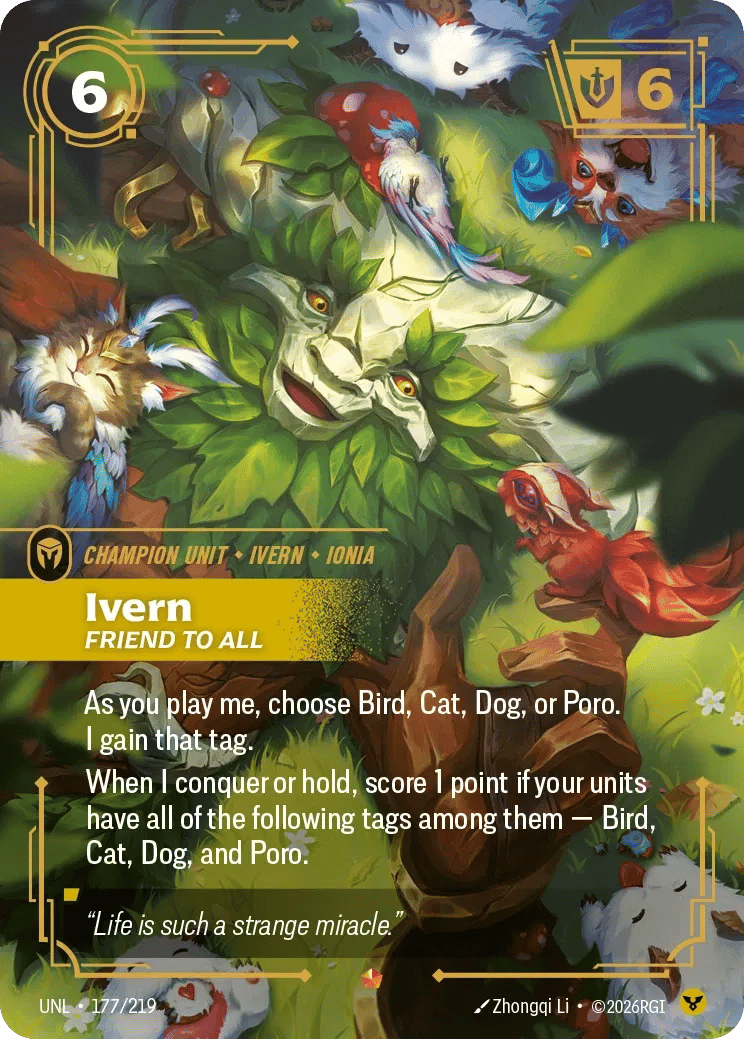
Green Ivern is one of the main value engines of the deck.
You don't need to rush him out just because you can afford him. Ivern is much stronger when you can play him while already having a board and still have resources available to protect your position.
Once Ivern is generating value, the opponent is under pressure to deal with him while you're still contesting battlefields.
The deck becomes especially difficult to grind through when your cheap units have already forced interaction before Ivern comes down.
Astral Heron
Astral Heron gives the deck a powerful top end.
The important thing is not to treat Heron as something you need to rush toward every game. Your normal units are perfectly capable of winning games without it.
When Heron does come down, however, the cost reduction can let you produce extremely efficient turns afterwards.
This is also where Zhonya's Hourglass becomes particularly valuable. Protecting an expensive unit that your opponent has committed resources into removing can create a huge tempo swing.
Battlefield Management
This is probably the most important part of learning the deck.
Avoid putting four or five units onto one battlefield simply because you can.
Once you have enough strength to comfortably hold a battlefield, additional units often have diminishing returns. A huge stack also makes cards that move, stun or otherwise disrupt an entire battlefield much more punishing.
Instead, think of your board in two layers:
Battlefield: enough units to make taking it expensive.
Base: your next wave of units.
Keeping units at base gives you options. They can reinforce the battlefield you're holding, attack somewhere else, or rebuild after your opponent commits a large effect to clearing your existing position.
Sometimes the threat of moving your units is more useful than actually moving them.
Your Interaction
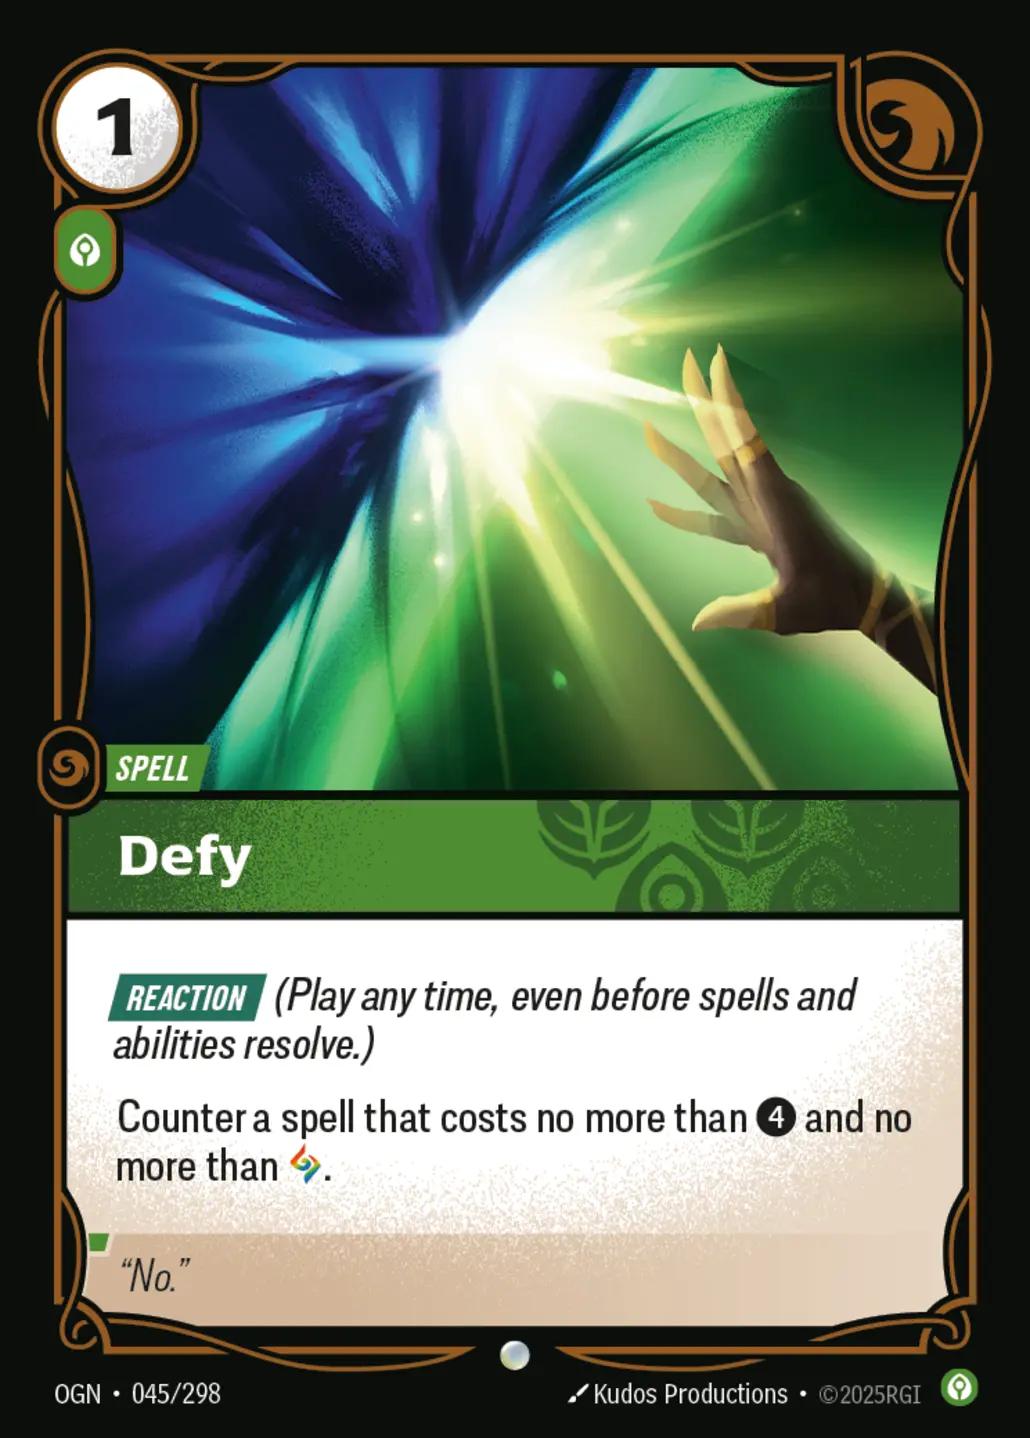
Defy
One of the best cards in the deck.
Don't automatically spend Defy on the first legal target. Protect the cards or positions that actually matter.
If losing one cheap unit doesn't change who controls the battlefield, you can often let it die.
Save Defy for effects that would:
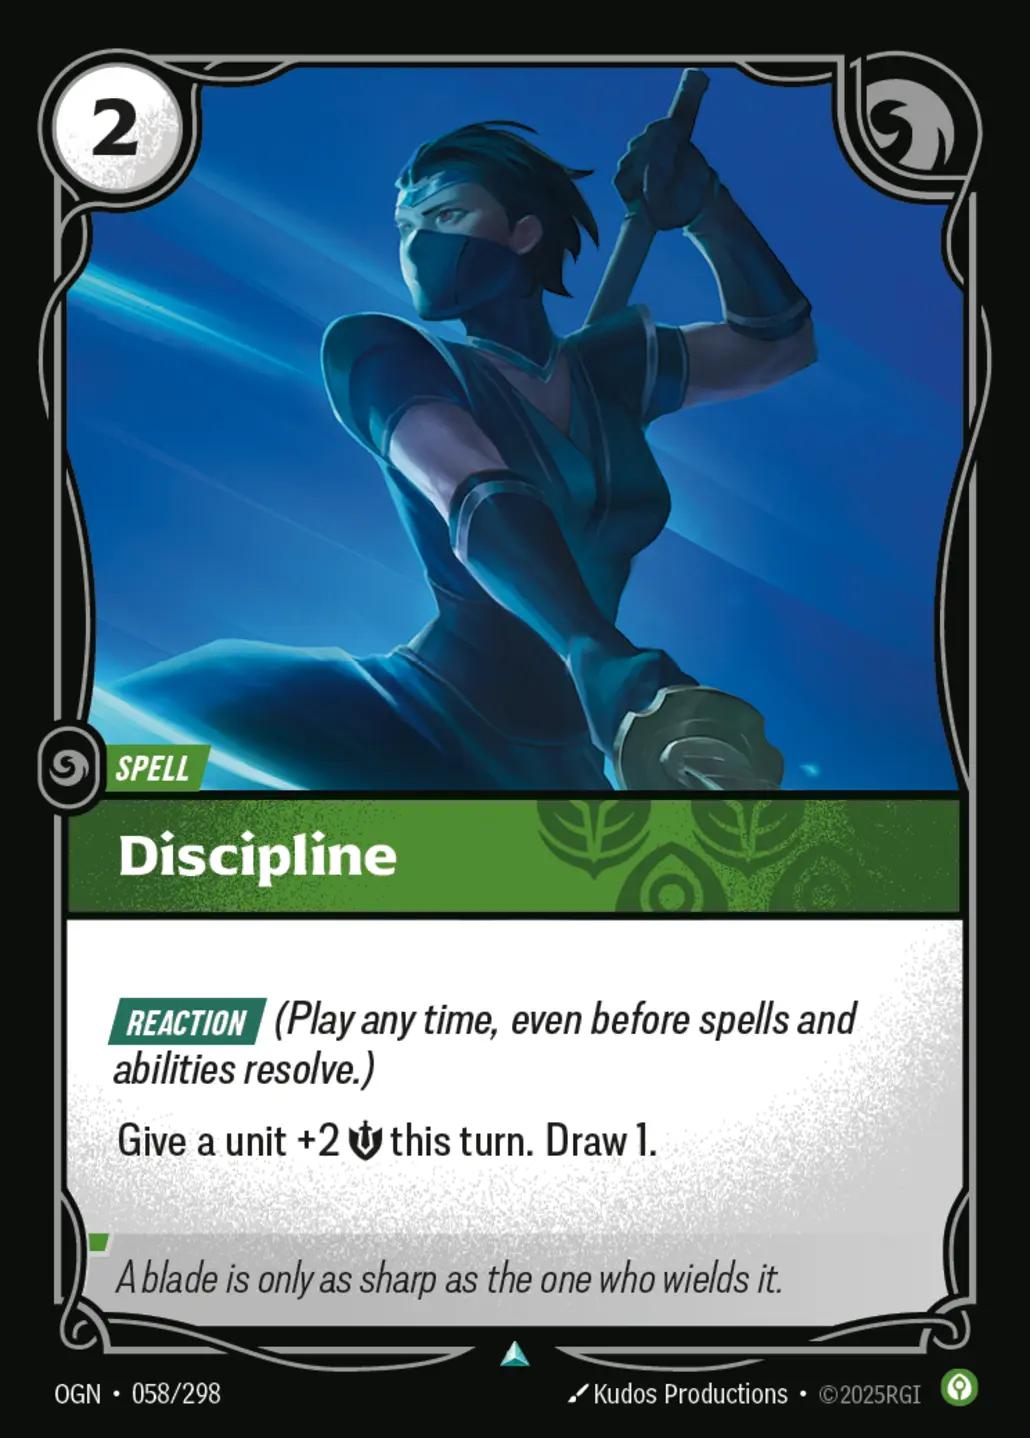
Both Discipline and Friendship are other cheap way of controlling combat and protecting your board.
The combination of developed units plus open resources is what makes Ivern awkward to attack. Your opponent has to consider not only what is currently on the battlefield, but what you can do once they commit.
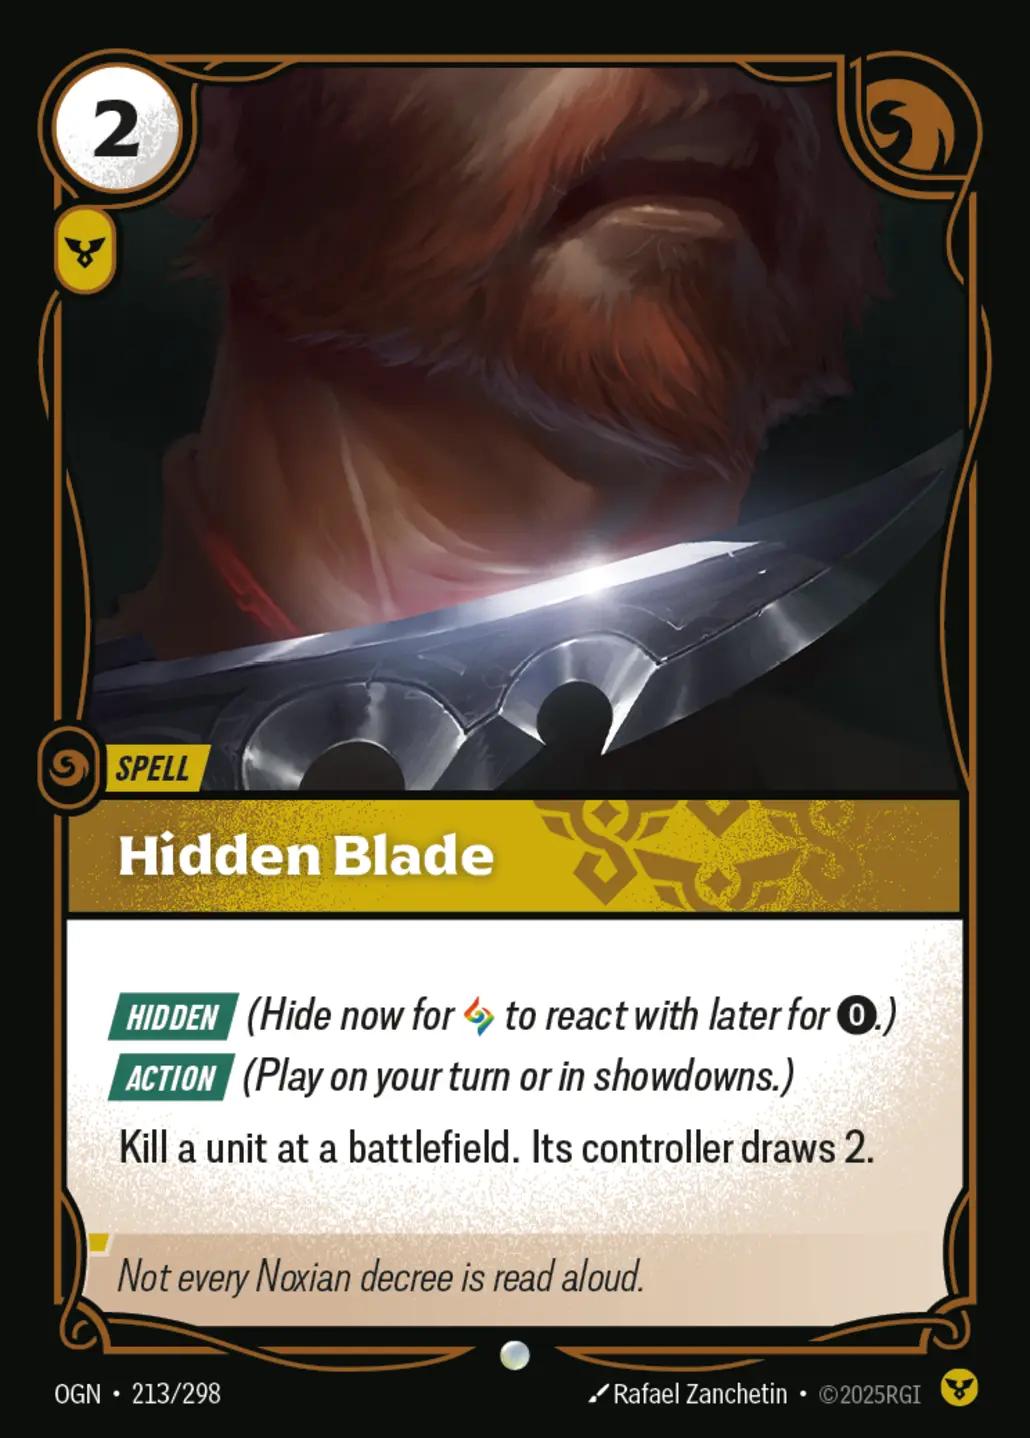
Hidden Blade
Hidden Blade lets your smaller units trade much further upwards than their printed stats suggest.
This is one of the reasons you don't necessarily need enormous battlefield stacks. A modest Ivern board with interaction available can be considerably stronger than it looks.
However it is always a valuable strategy to use this on a bird token for the draw if you lack cards in hand
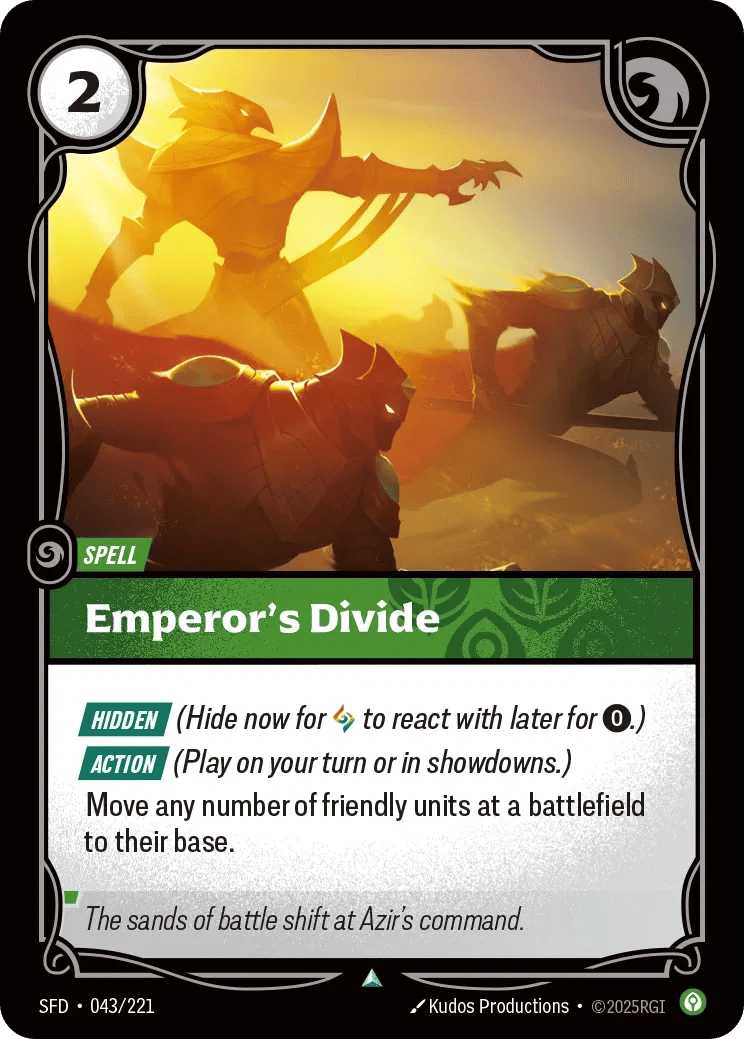
Emperor's Divide
This is your emergency button and one of your best tools against opponents trying to overwhelm a battlefield.
Try not to use it just because you can get some value from it. Its ceiling is much higher when the opponent commits heavily to a battlefield or attempts to create a decisive showdown.
Holding it can sometimes influence how aggressively your opponent is willing to commit.
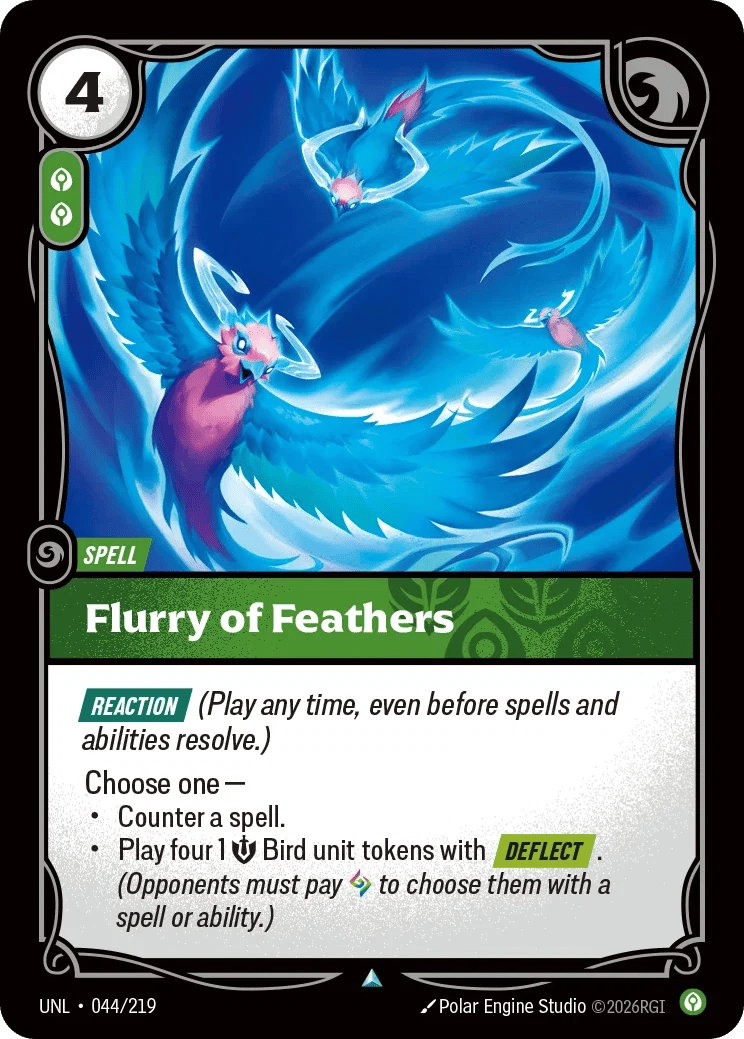
Flurry of Feathers
Another flexible tempo tool.
It helps you recover battlefield positioning and can create opportunities to turn a board that looked unfavourable into one where your opponent suddenly has to defend.
Zhonya's Hourglass
Zhonya's Hourglass fits the deck particularly well because Ivern frequently asks the opponent to spend removal inefficiently.
Don't attach it automatically to the first unit you play.
The best Hourglass targets are generally units that are:
Closing Games
Ivern can fall into the trap of becoming too defensive.
Eventually you need to convert your board advantage into points.
Once you've established a battlefield and forced the opponent to commit resources there, start asking:
"Do I actually need another unit here?"
If the answer is no, develop elsewhere.
This creates the situation Ivern wants: your opponent has to choose between fighting through your established position or allowing you to threaten another battlefield.
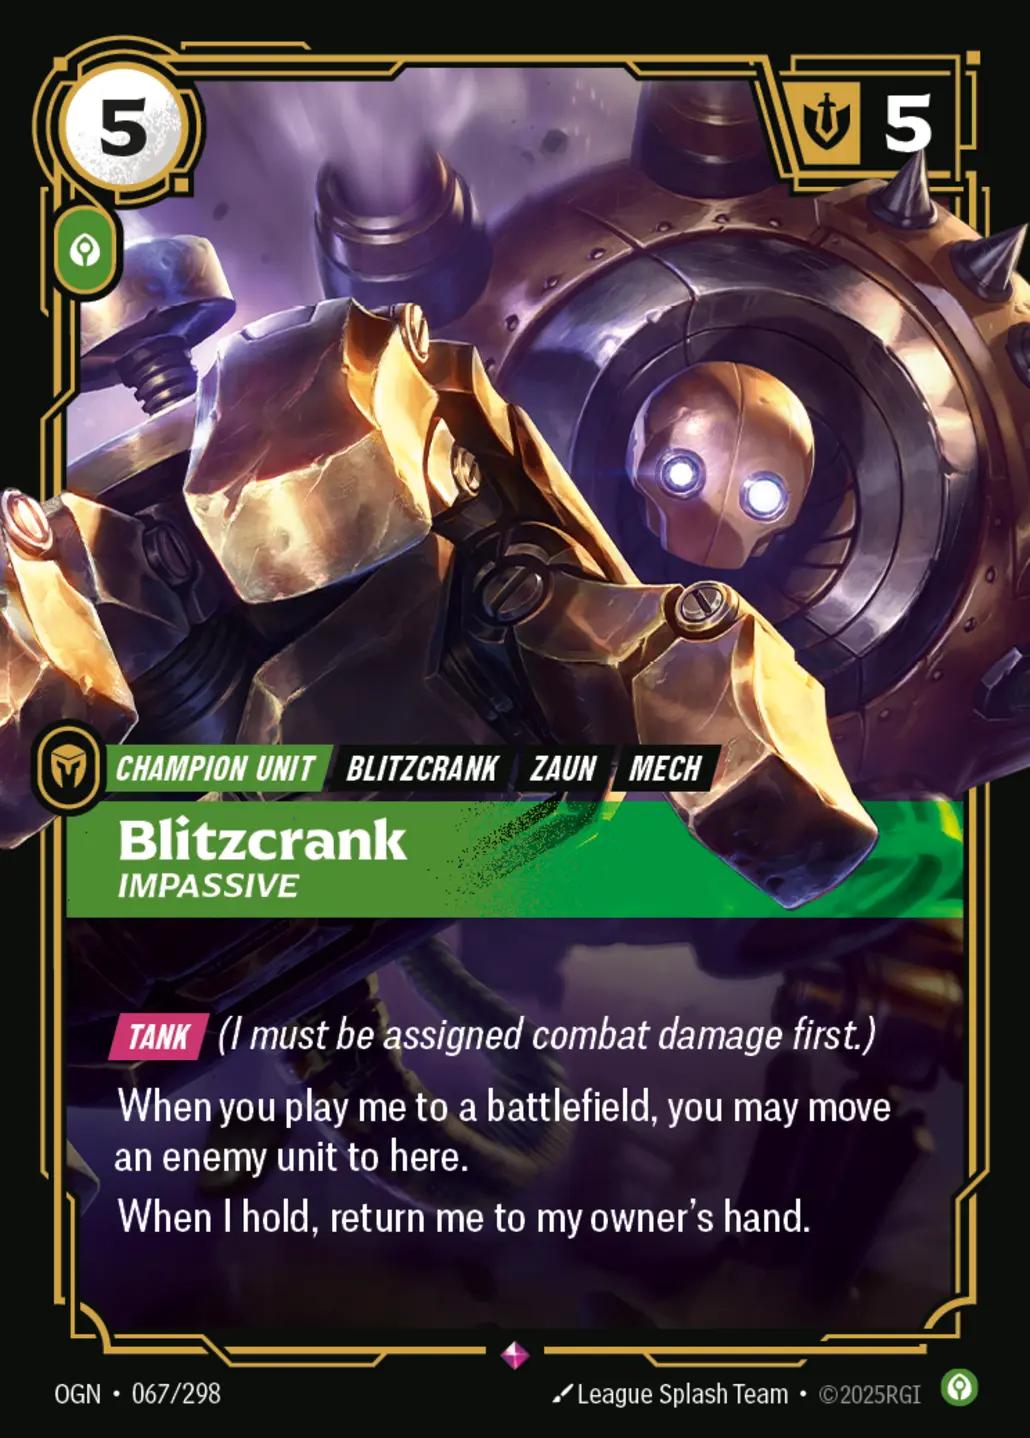
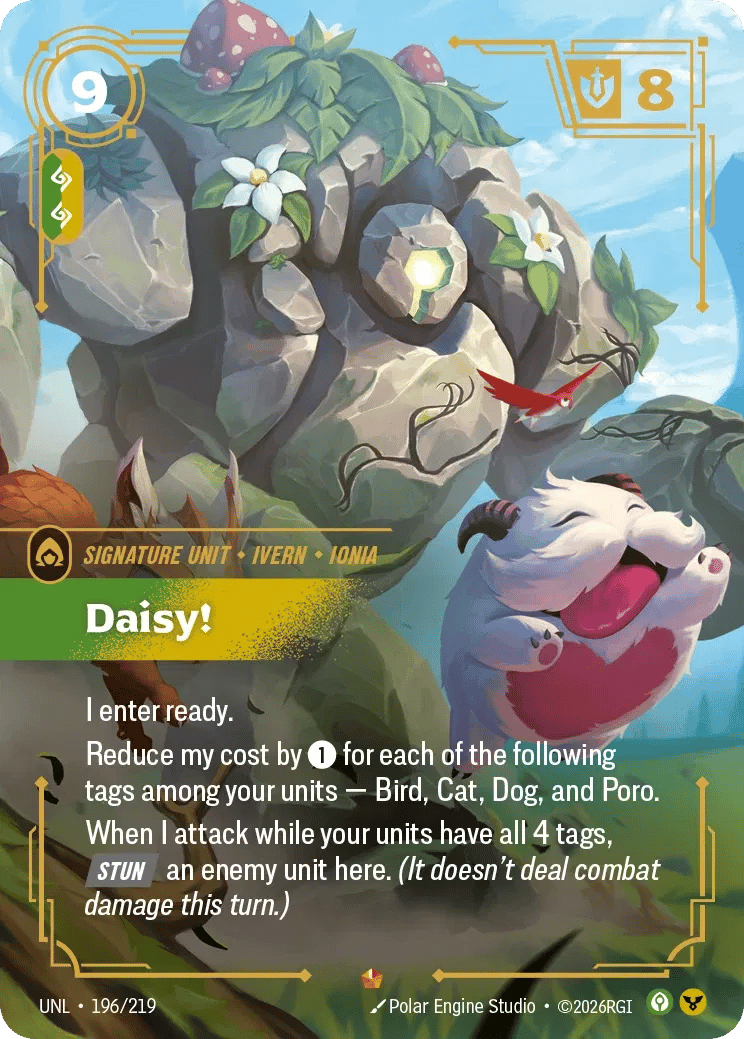
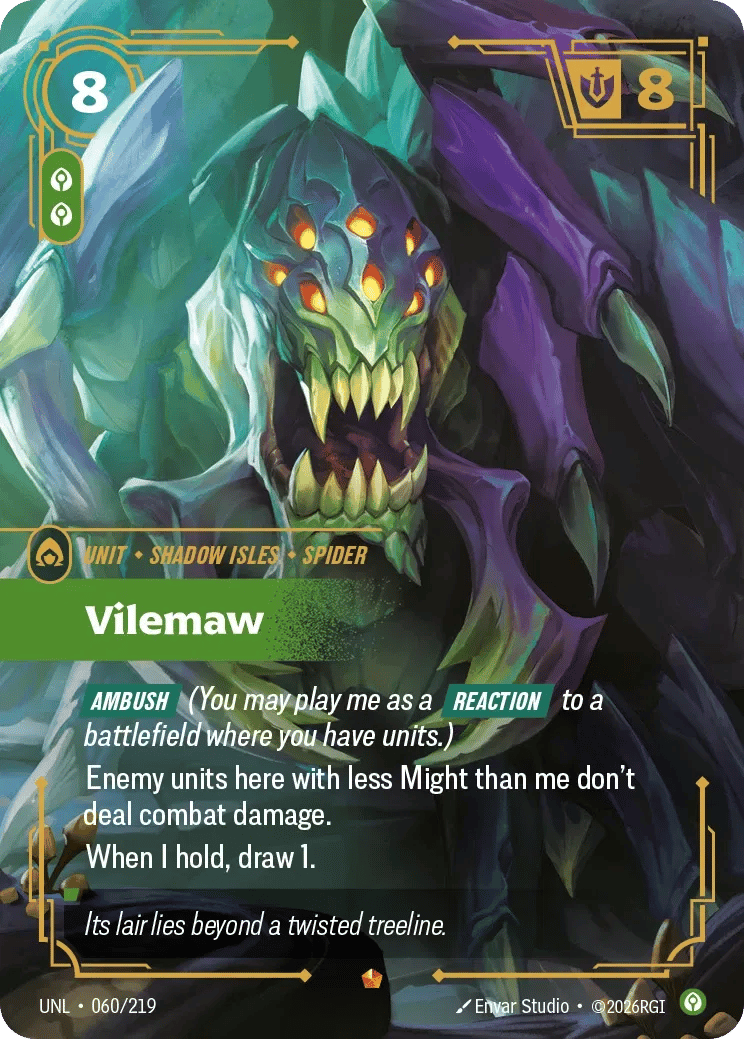
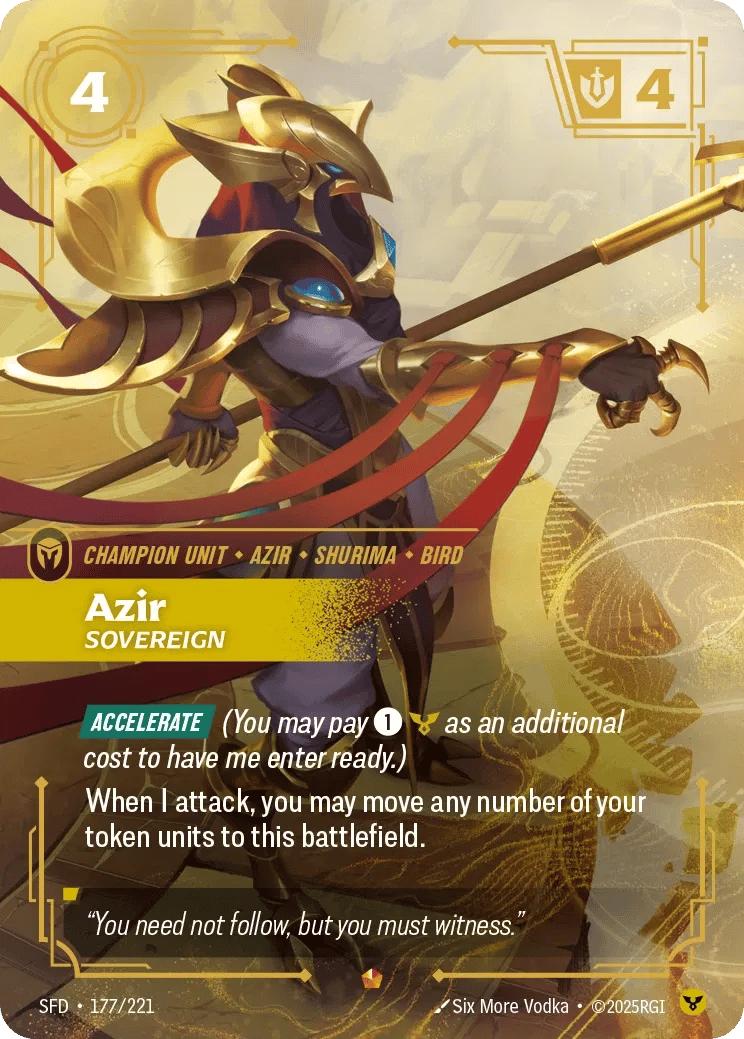
Cards such as Daisy!, Vilemaw and Azir help provide the heavier bodies/value needed when the game reaches this stage.
Sideboarding
Your sideboard lets you change the deck depending on whether you need more interaction, protection or raw power.
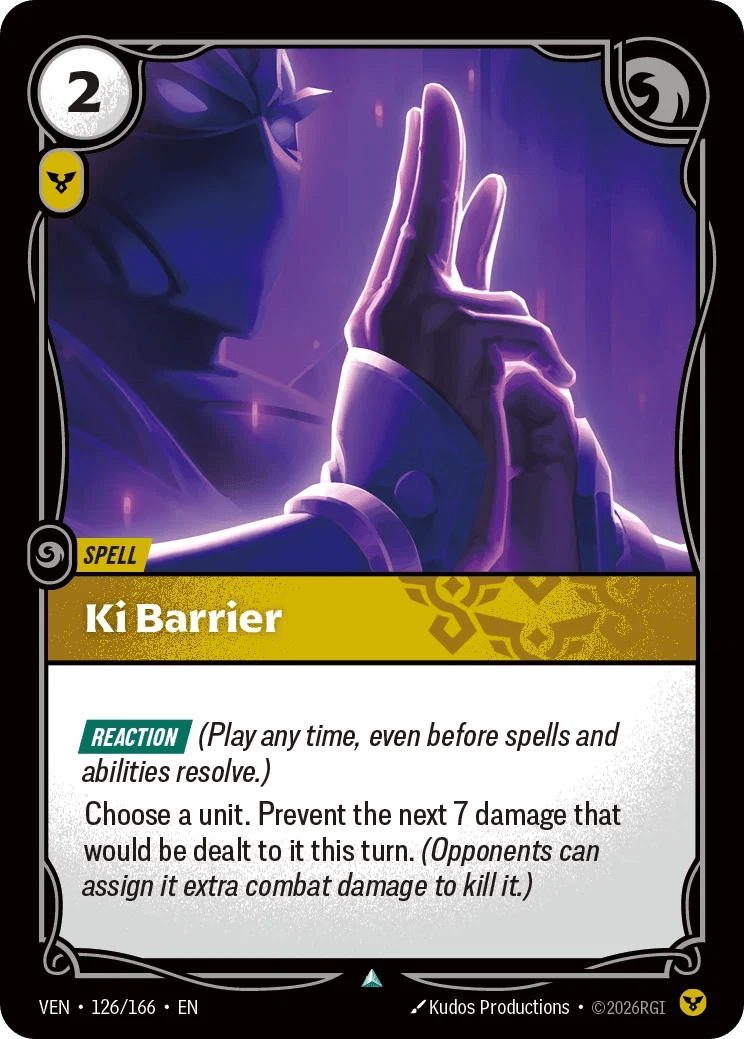
Charm / Ki Barrier
Bring in when protecting an important unit or disrupting enemy interaction matters more than additional board presence.
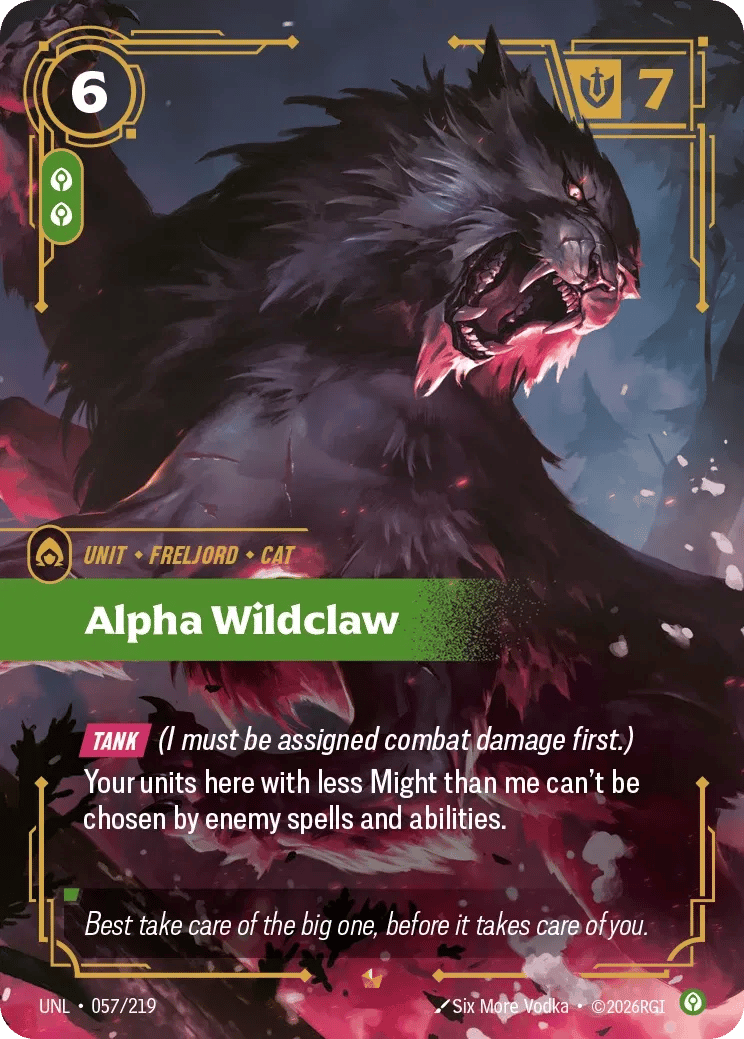
Alpha Wildclaw / Vilemaw
Useful when you expect a slower game and want additional heavyweight threats.
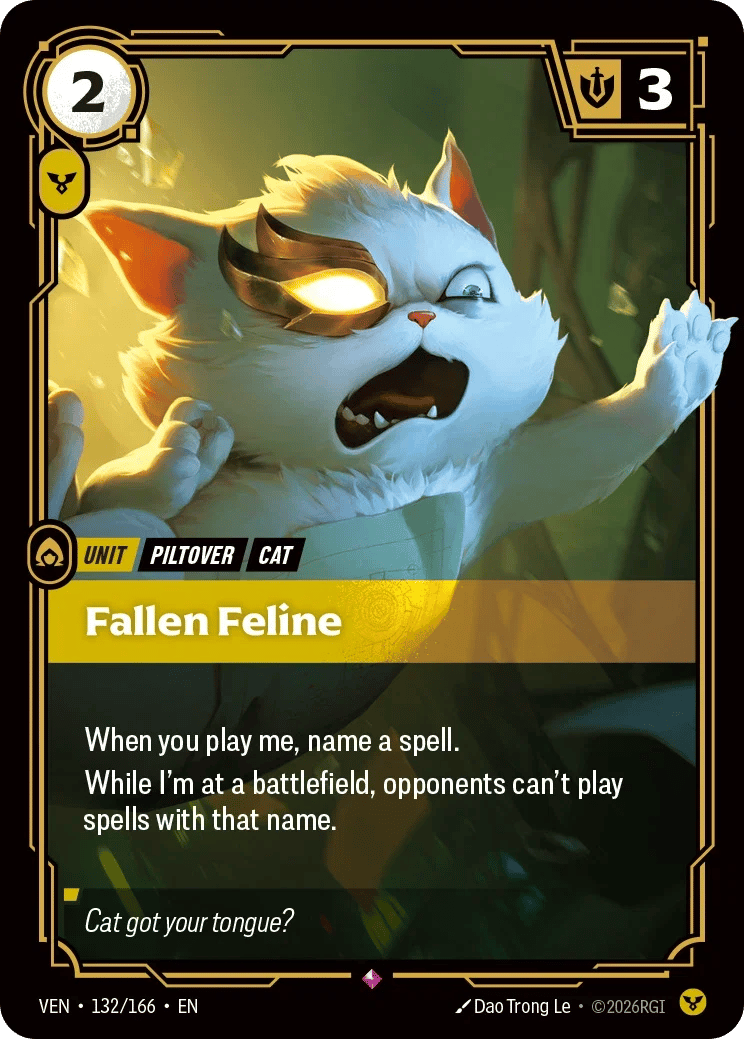
Fallen Feline
An additional disruptive body for matchups that play many spells to help mitigate some threats
General Tips
Don't overcommit.
Three units holding a battlefield with interaction available can be better than five units sitting there with nothing left in hand.
Use your base.
Units at base aren't wasted units. They're insurance against clears and give you flexibility on the following turn.
Make them act first.
Ivern is very good when the opponent has to commit resources before you decide how to respond.
Protect positions, not individual cards.
Sometimes letting a unit die is correct if spending Defy would only protect a battlefield you're already comfortably winning.
Know when you've invested enough.
Once a battlefield is secure, start developing your next threat rather than endlessly reinforcing it.



Ivern, Green Father · Ivern, Nurturer
Sep 29
Ivern, Green Father · Ivern, Friend to all
May 3
Ivern, Green Father · Ivern, Nurturer
Sep 28
Ivern, Green Father · Ivern, Nurturer
Sep 30
Ivern, Green Father · Ivern, Nurturer
Sep 28
Ivern, Green Father · Ivern, Nurturer
Sep 28
Comments
0 total
Loading comments...